2.3.2 Add device via SSH
SSH is the most universal device entry in RDK Studio. If your host is reachable from this PC over the network and SSH is running, you can add it as a device.
It works for RDK boards and for generic Linux hosts, Jetson, Raspberry Pi, Rockchip, and other remote machines.
Step 1: Gather connection details
| Field | Description |
|---|---|
| Host / IP | Device address or hostname |
| Port | Default 22; leave default if unsure |
| Username | Official RDK images often use root; other Linux as appropriate |
| Password | Quick path for first connect |
| Device alias | Shown in the device list and Moss workspace |
If you do not know the Host / IP, check the router admin UI, OS network panels, or serial boot log. Moss can also help scan the LAN.
Step 2: Add the device
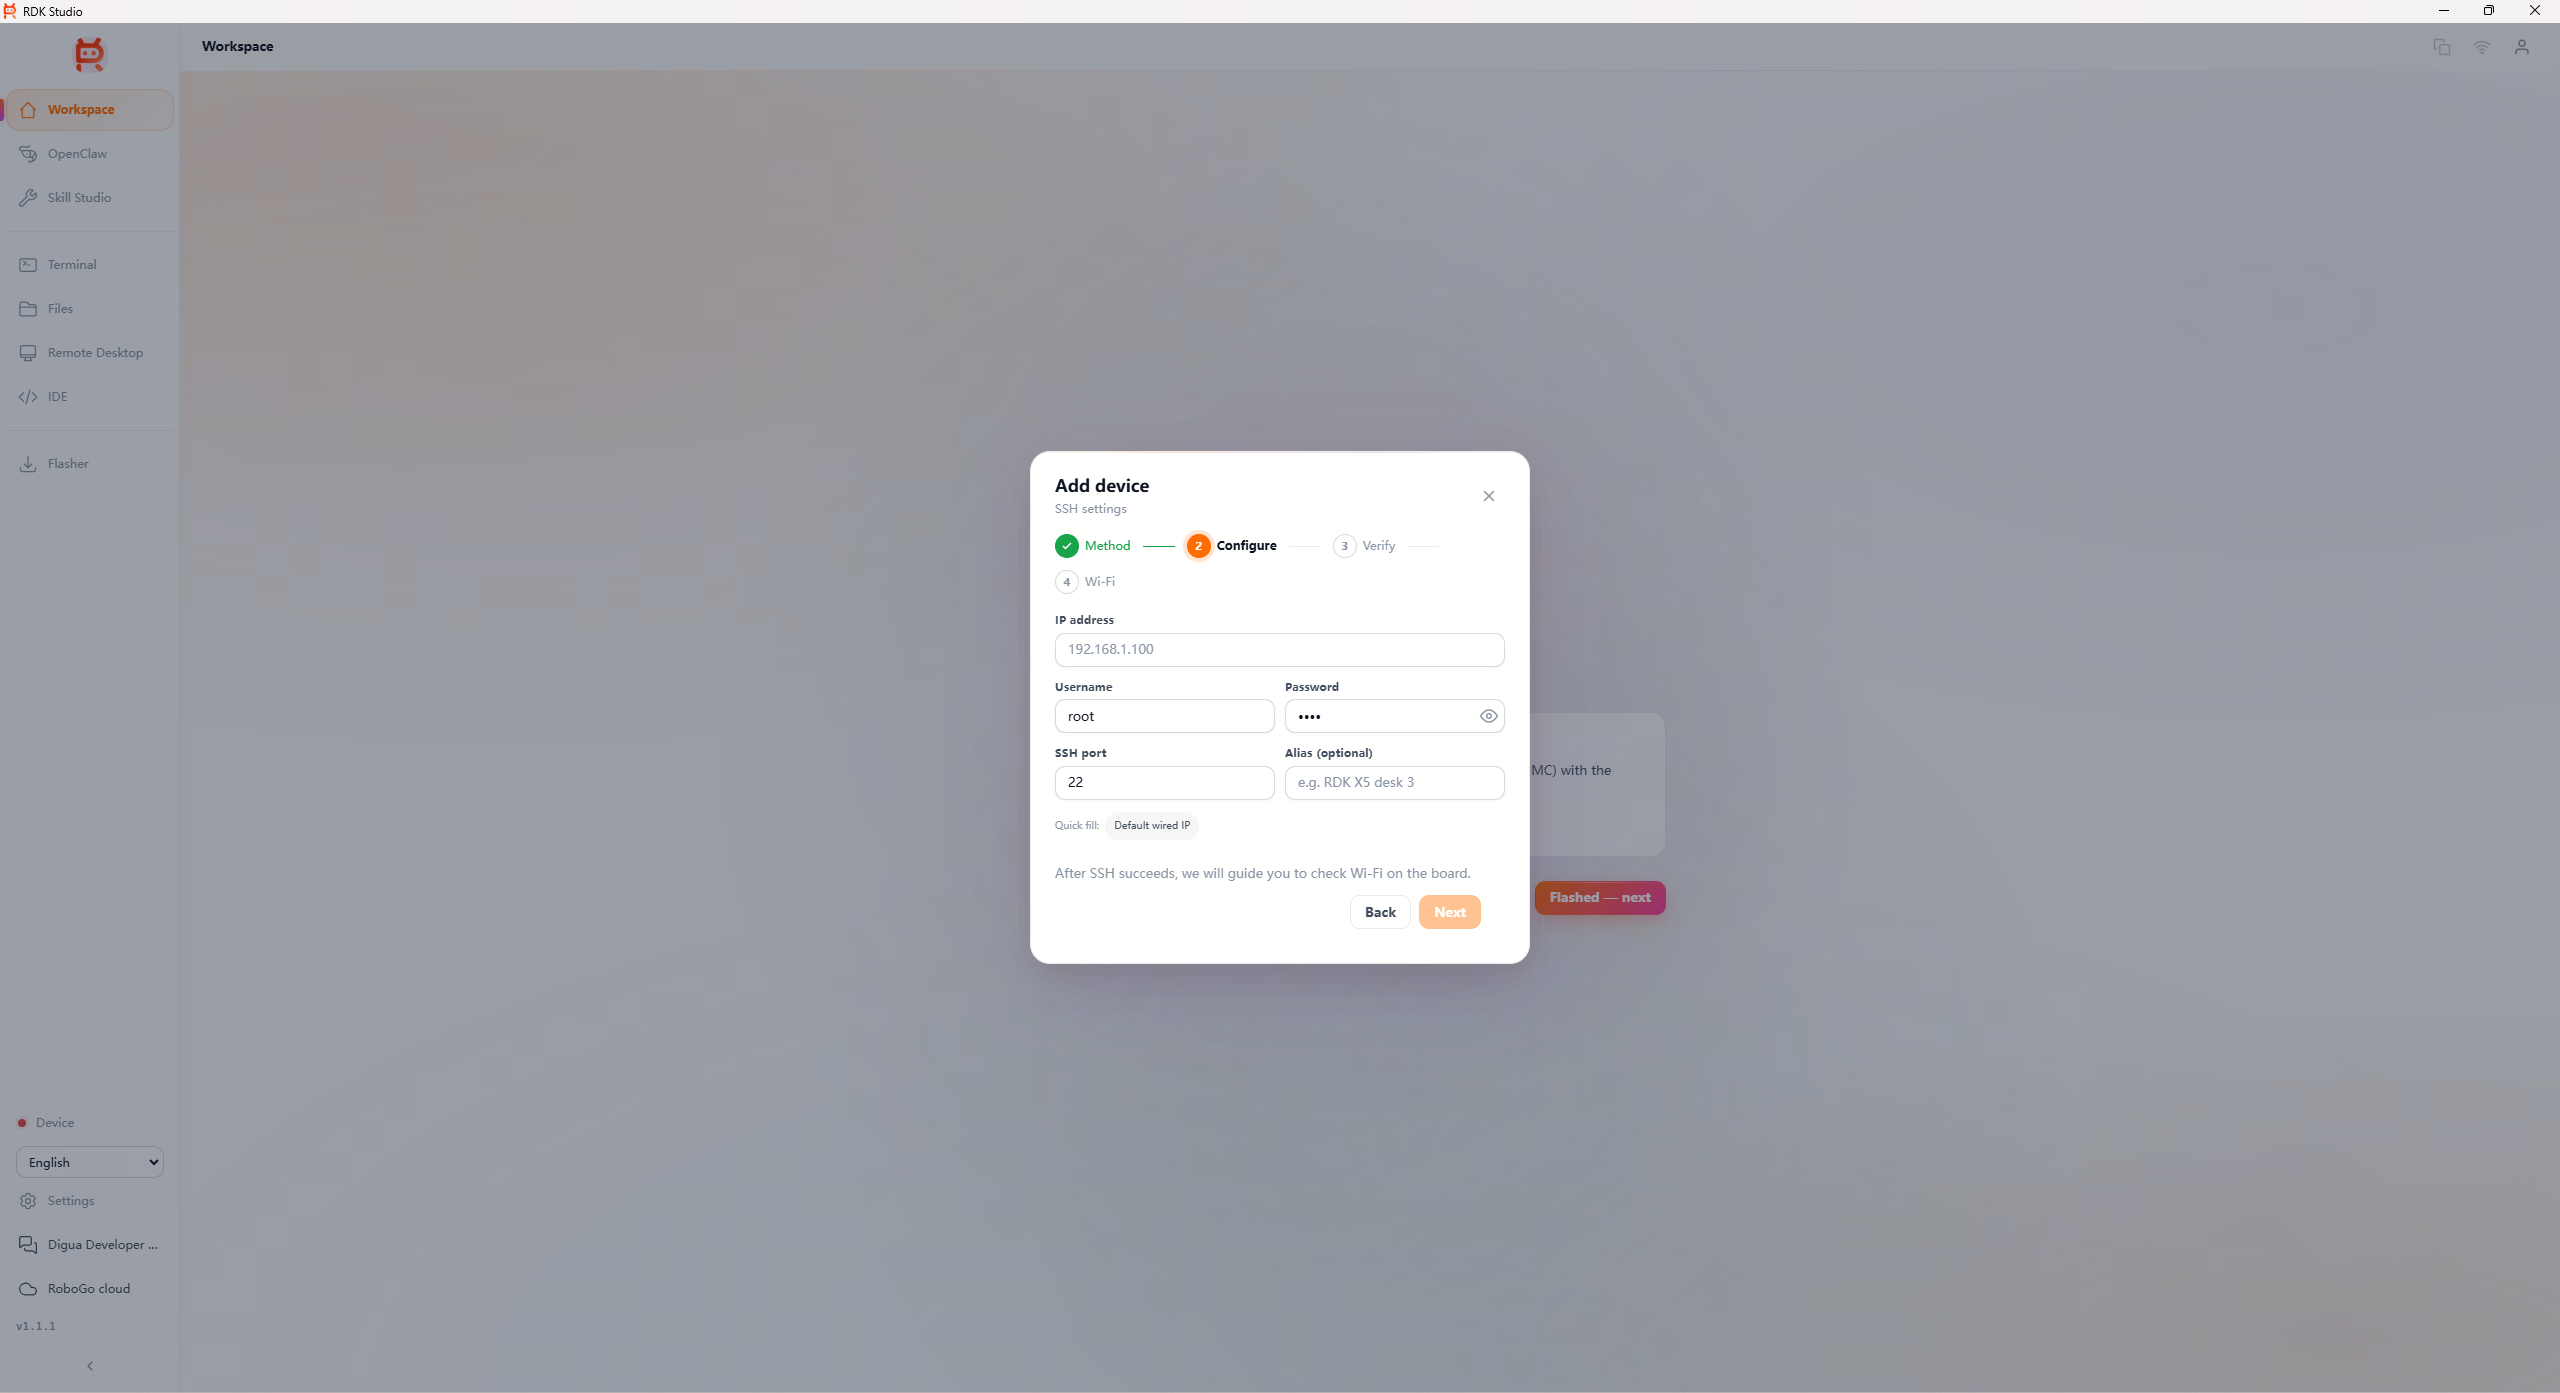
- Open Add device → SSH device.
- Enter Host / IP, port, username, and password.
- Click Connect. RDK Studio verifies SSH, then saves the device.
- For RDK or similar boards, you may be prompted for Wi-Fi setup after verification.
Once saved, workbench, terminal, files, code editor, remote desktop, and Moss all use this connection.
Step 3: Confirm device type
RDK Studio classifies the host. Available capabilities vary:
| Classification | Typical capabilities |
|---|---|
| RDK | RDK hardware context, Wi-Fi setup, flashing links, OpenClaw deploy |
| Generic Linux | Moss, terminal, files, code editor, project workspace |
| Jetson / Raspberry Pi / Rockchip | Generic Linux; board-specific extras as supported |
| Unknown | Conservative generic UI to avoid wrong RDK-only flows |
Common addresses
| Scenario | Address |
|---|---|
| After Type-C direct | 192.168.128.10 |
| Ethernet or fixed image | Per your image documentation |
| Wi-Fi / DHCP | Assigned by the router; look it up |
Connection failures
| Symptom | What to do |
|---|---|
| Timeout | Power on the device; verify Host / IP; ensure L2/L3 reachability |
| Auth failure | Check username/password; confirm whether defaults were changed |
| Connection refused | Remote login service may be off; enable via serial if needed |
| After reflash still fails | Remove stale saved entries and connect again |
Full troubleshooting: 5.2 SSH connection failed.
Next steps
After a successful add, configure Wi-Fi if needed, or ask Moss on the workbench: “Check this device’s system summary and suggest next steps.”