2.1 Install and sign in
This guide walks you through installing the client, signing in, and essential first‑launch setup.
Install the client
Download the installer for your desktop OS from the D‑Robotics official release page:
| Supported desktop OS | Installer format |
|---|---|
| Windows 10 / 11 (64-bit) | .exe installer |
| macOS (Apple Silicon / M series) | .dmg |
RDK Studio does not provide 32-bit Windows, Windows 7 / 8 / 8.1, Intel Mac, or Linux / Ubuntu desktop client installers.
On first launch under Windows or macOS (Apple Silicon), the OS may ask you to confirm the app source. After you confirm the package comes from the D‑Robotics official release page, follow the system prompts to allow it to run.
First sign-in
Launching the desktop client opens the D‑Robotics unified sign-in platform. RDK Studio uses your D‑Robotics account; it does not store your password locally—only your sign-in session.
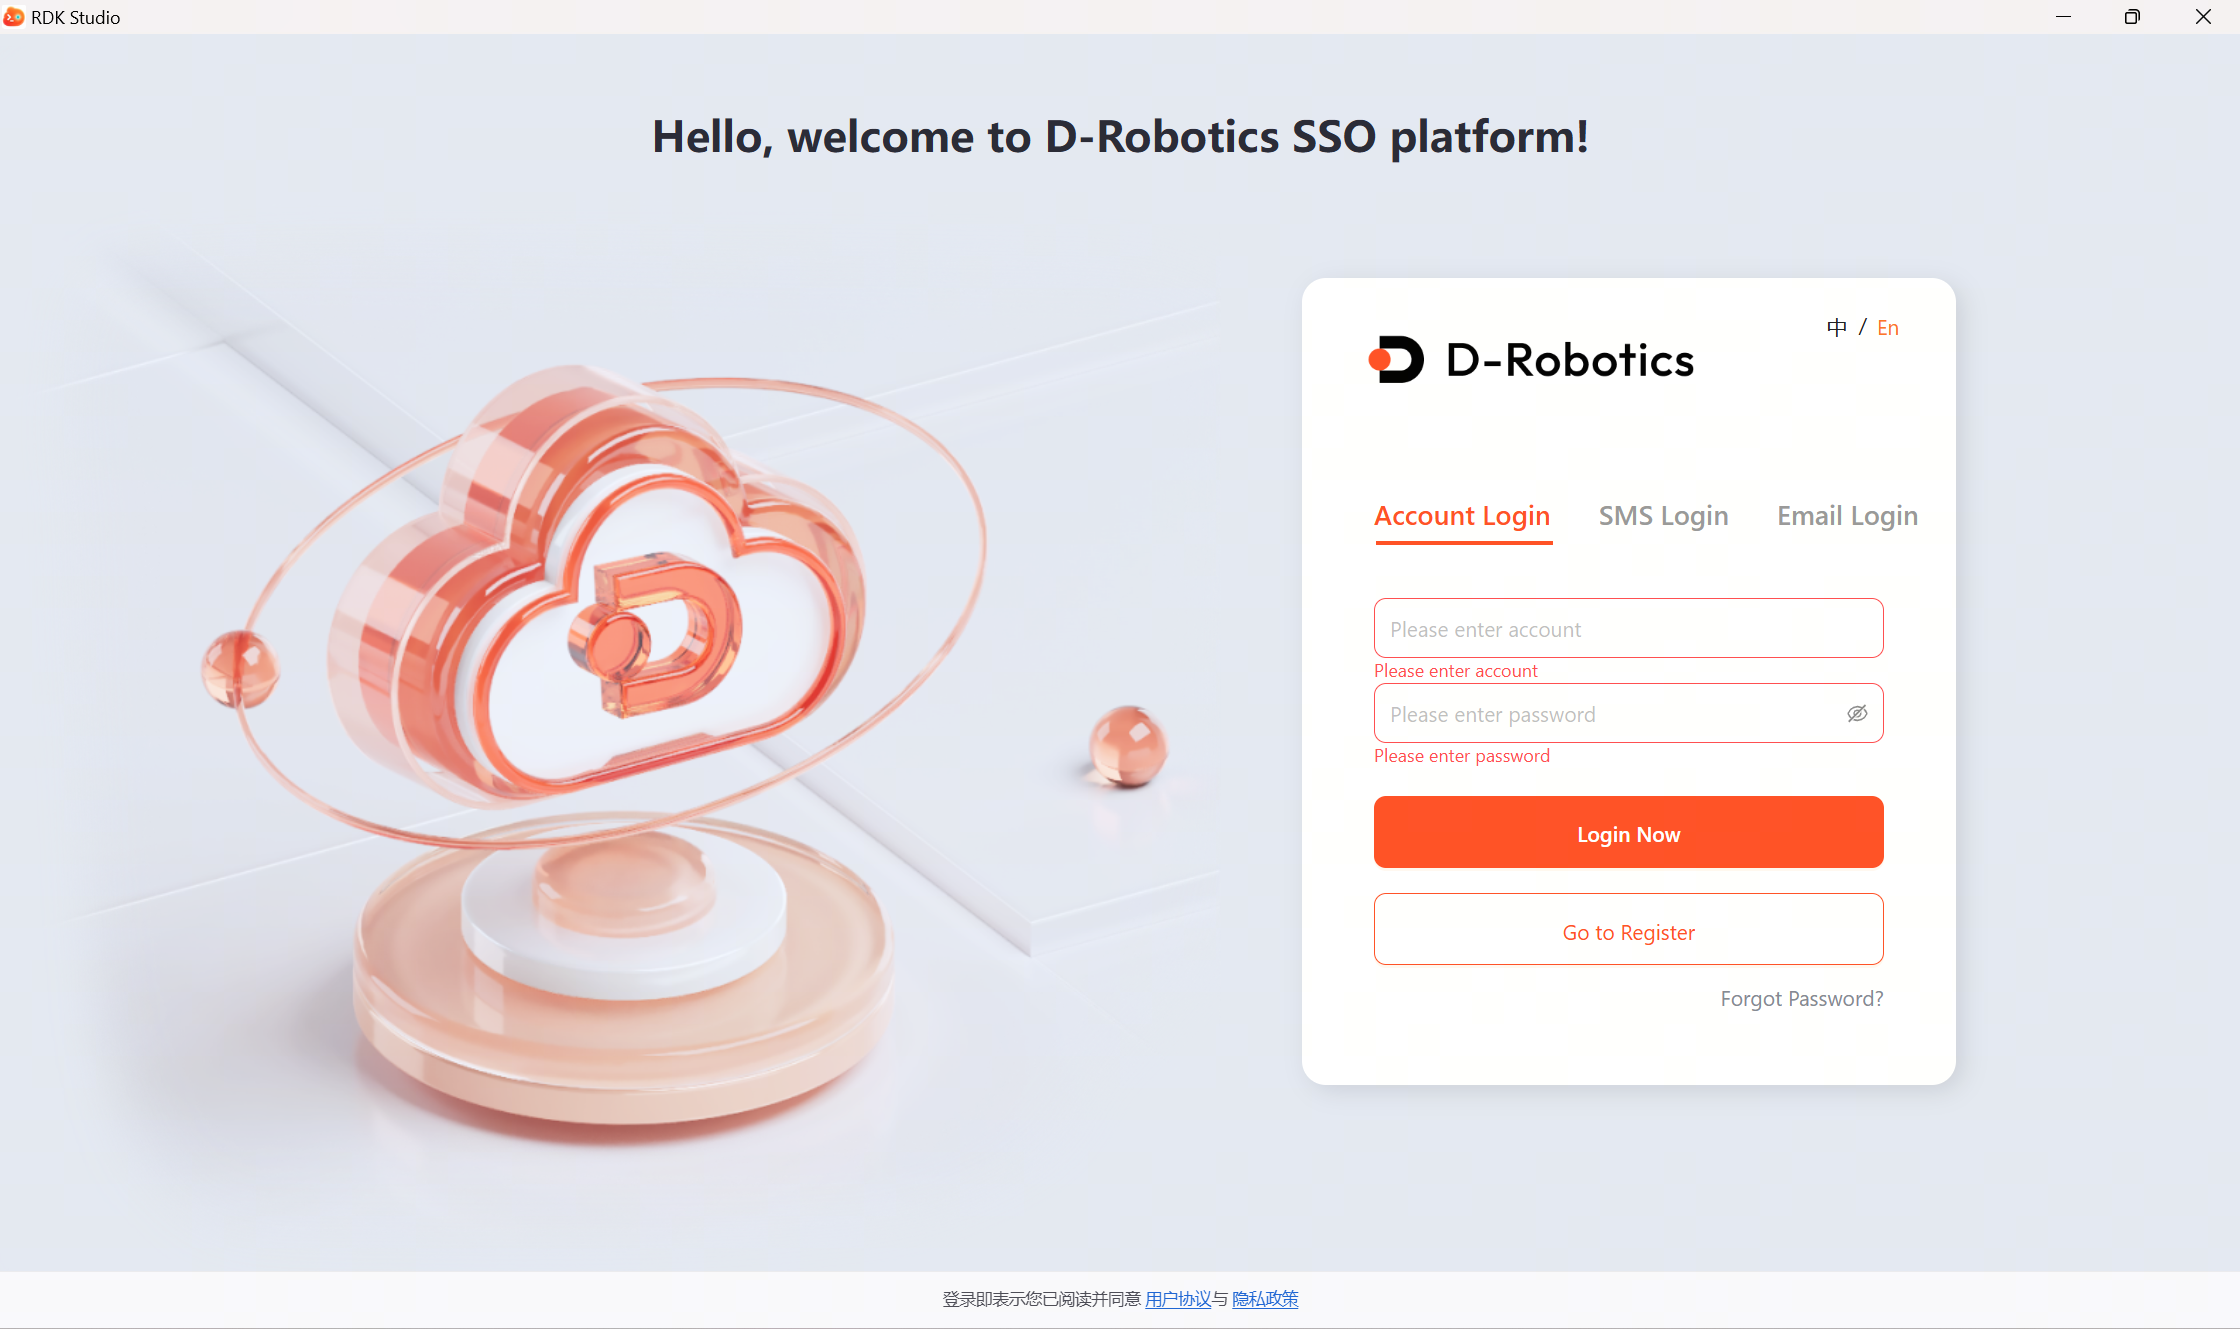
Sign-in steps:
- Enter your D‑Robotics account password, or switch to SMS sign-in.
- Complete captcha or second-factor verification if prompted.
- After the sign-in window closes, the RDK Studio main window opens to the workbench.
- First-time use starts the onboarding flow; if you have used it before, you return to the last page and settings you had open.
First-time four steps
Onboarding has four steps:
| Step | Screen copy | Goal |
|---|---|---|
| 1 | Choose board | Pick RDK X3 / X5 / S100 to tailor image and connection guidance |
| 2 | Prepare system | Open the flashing wizard or skip flashing by board type |
| 3 | Add device | Continue via SSH, RDK Type-C direct, or local serial log |
| 4 | Start using Moss | Send your first message to Moss from the workbench |
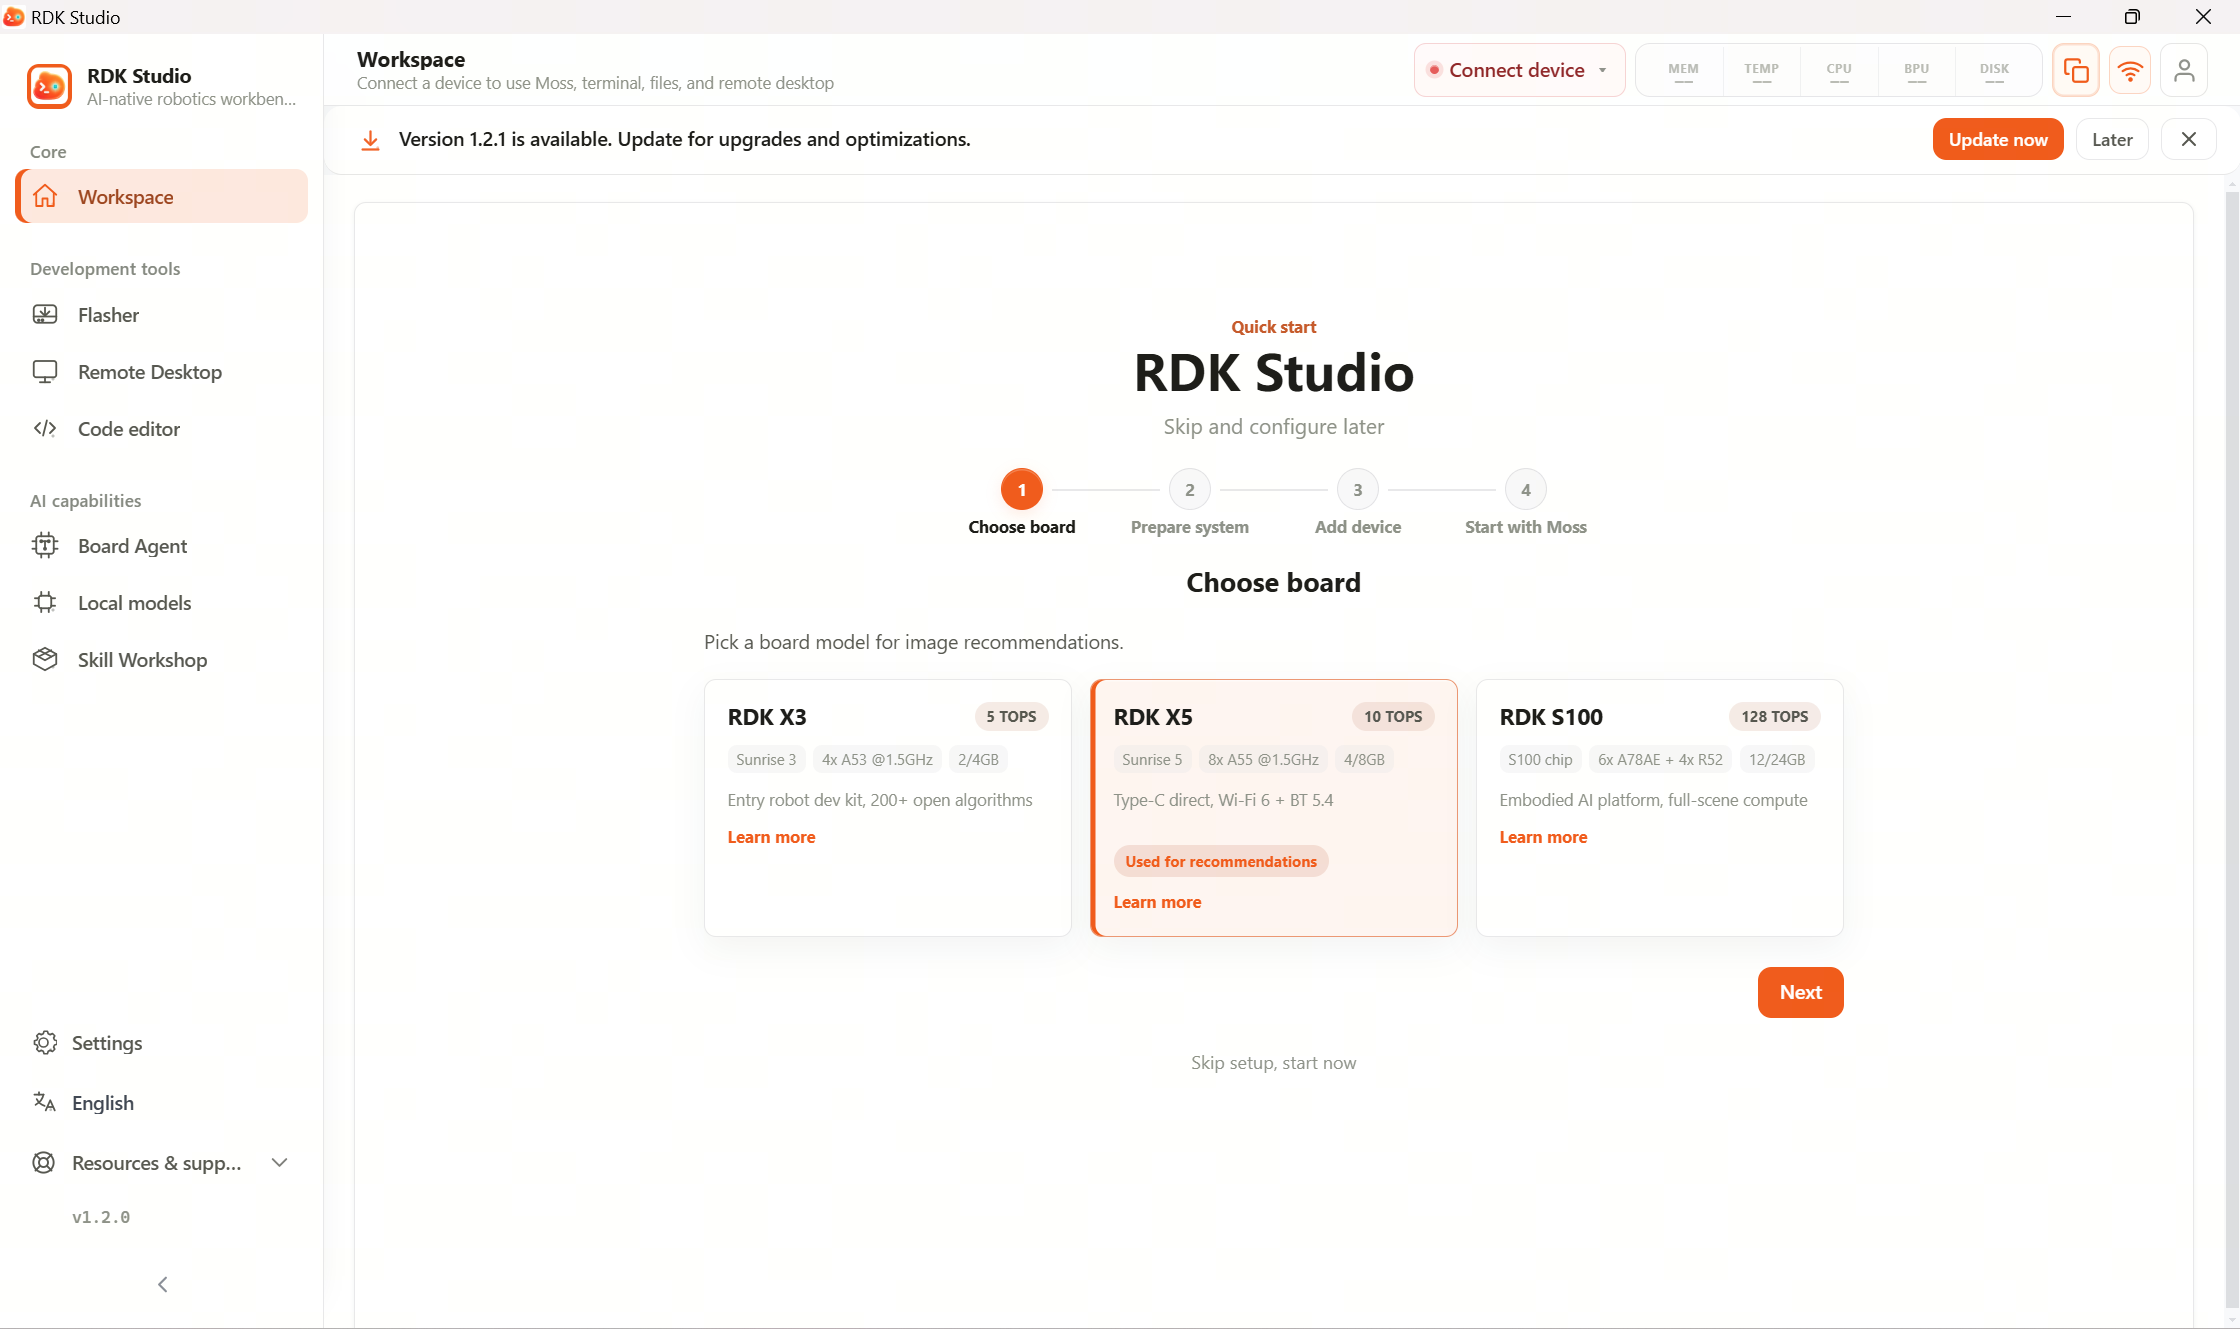
If the device already boots normally, you can skip flashing and add the device directly. Skipping onboarding does not limit later use; you can restart onboarding from the workbench empty state.
What is kept on next launch
Your sign-in session is kept for a period by default. When you reopen the client, RDK Studio restores the device list, model settings, skills, local model state, and chat history.
If the session looks wrong, use Settings → Account & security to sign out and sign in again.
Next steps
- No usable image on the board or you need to reflash → 2.2 Flash system image
- Board already reachable via SSH or Type-C → 2.3 Connect a device
- Want to try AI right after sign-in → 2.6 First conversation
For account, security, and local data management, see 3.13.2 Sign in & account.