2.4 Configure network
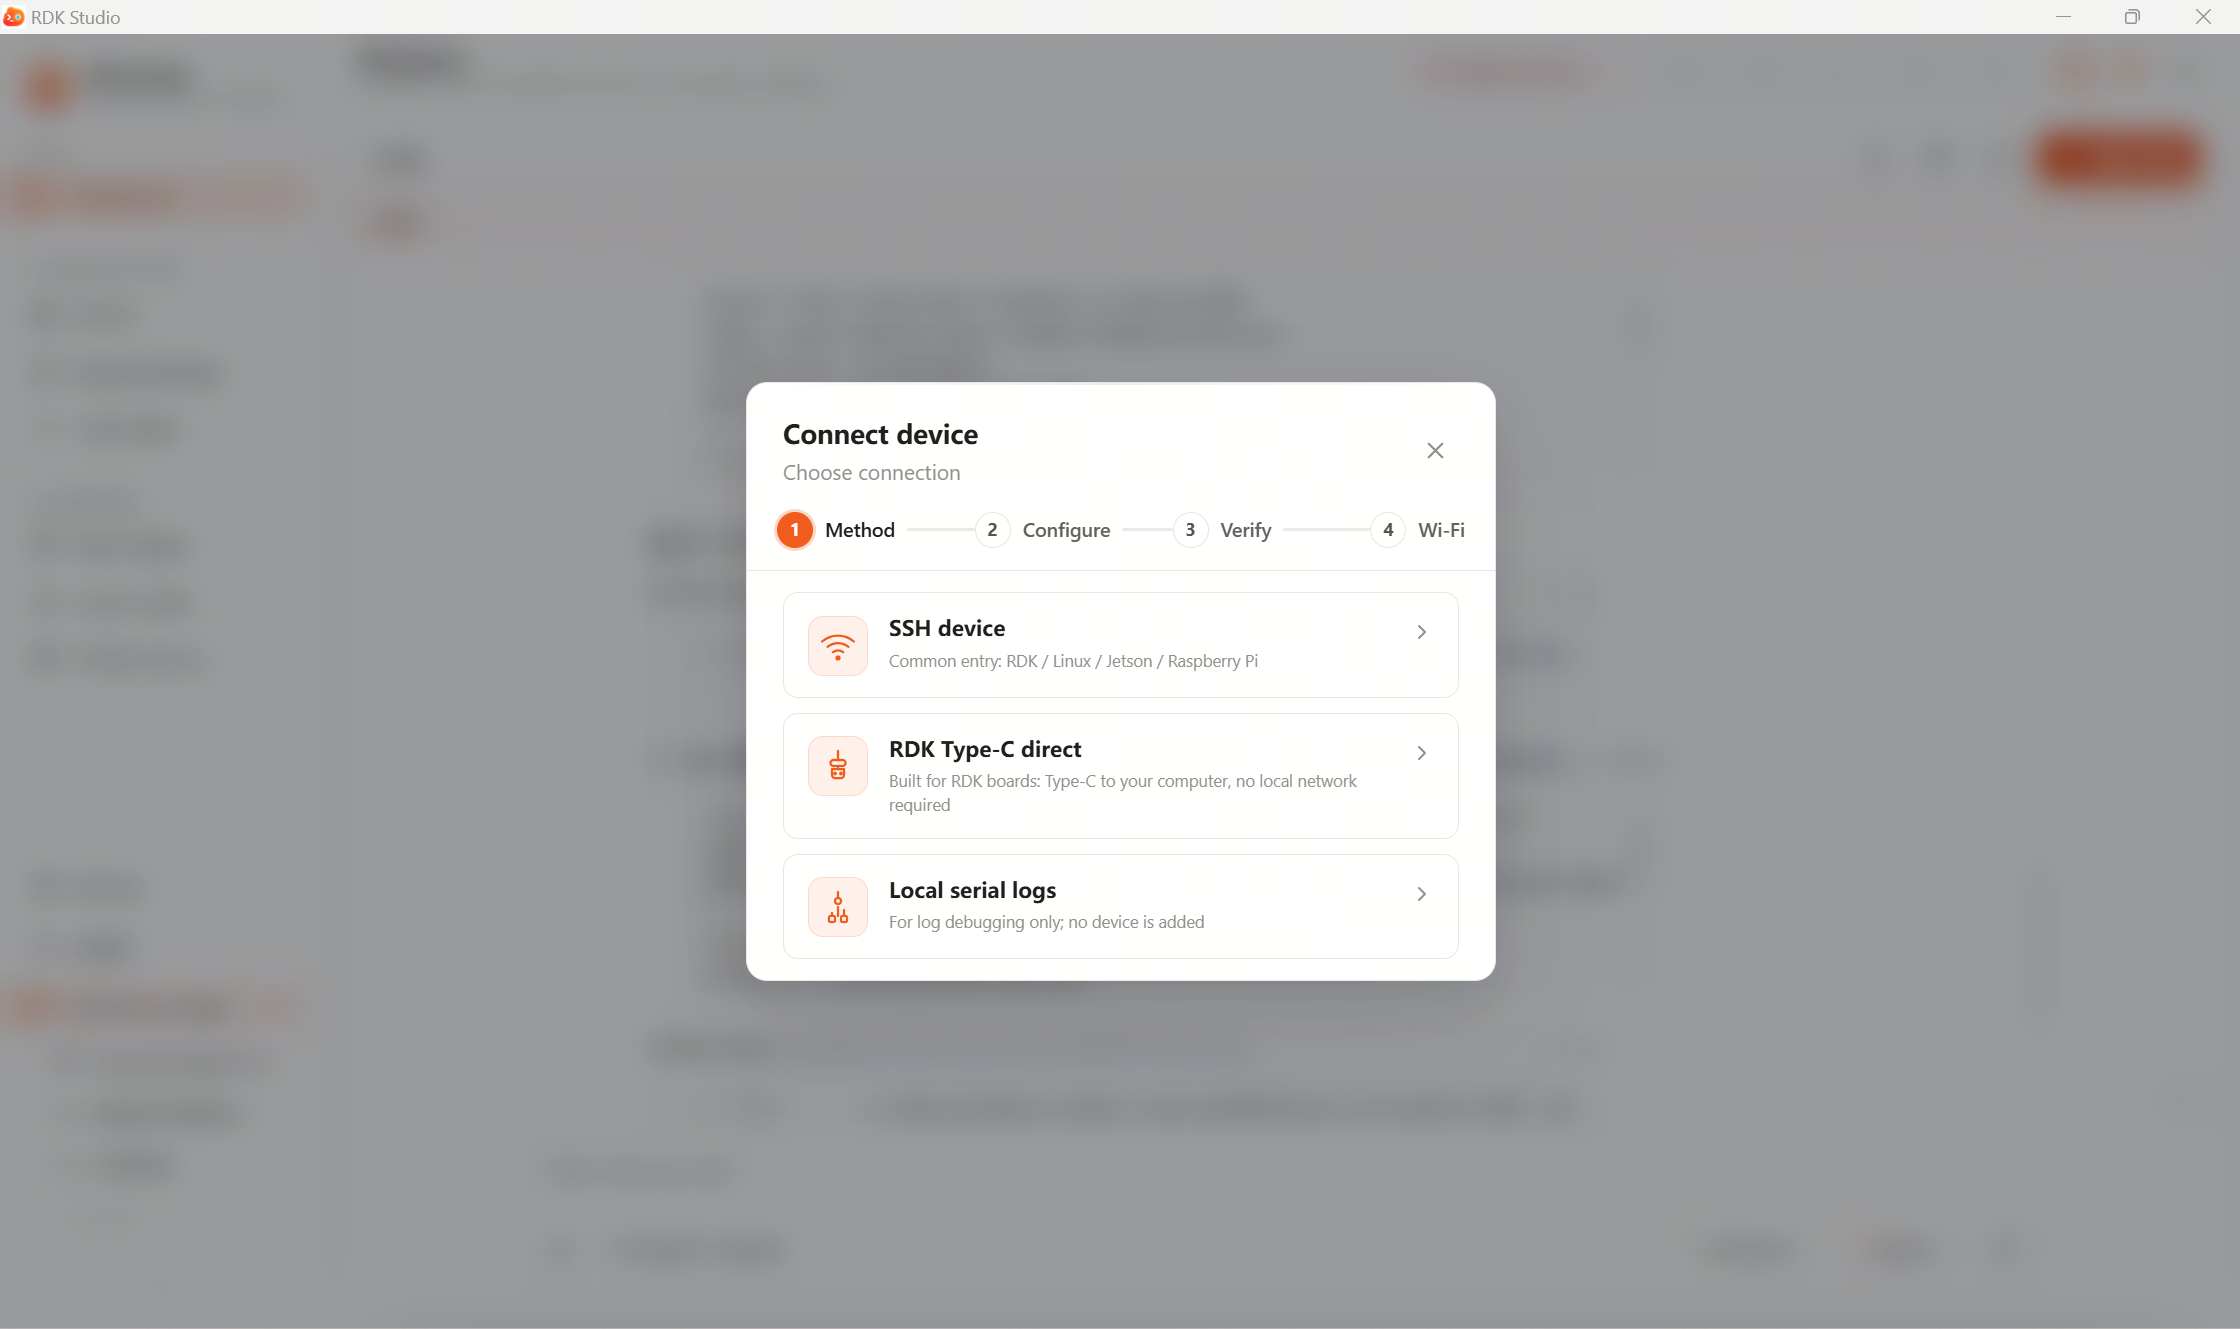
Wi-Fi setup usually appears after device verification succeeds. RDK Studio reuses the SSH session to scan Wi-Fi on the device, join a network, and report whether it is online.
When you need it
| Scenario | Suggestion |
|---|---|
| Connected via Type-C direct | Configure Wi-Fi so you can unplug and use remotely |
| Ethernet SSH | Optional; skip if the device stays on wired LAN |
| Added via Wi-Fi IP | Likely already online; you can finish quickly |
| Non-RDK Linux | Depends on OS and wireless driver support |
Wi-Fi flow after adding a device
- RDK Studio reads current Wi-Fi state on the device.
- If already connected, the current SSID is shown; you can complete.
- If not, pick or enter SSID and password.
- Click Connect and wait for the device to join and return status.
- After success, keep using the current session or add another SSH entry with the new Wi-Fi IP.
Hidden SSIDs, weak signal, bad password, or missing drivers surface in the UI. You can paste the message to Moss for triage.
PC loses internet after Type-C direct
Some OSes prefer the USB NIC as the default route, so Wi-Fi looks up but the internet is unreachable. RDK Studio warns about this during add-device.
Mitigations:
- Windows: Follow the in-app hint to raise Wi-Fi priority or remove default gateway/DNS on the USB NIC.
- macOS (Apple Silicon): In service order, place Wi-Fi above the board’s USB Ethernet.
Troubleshoot with Moss
If scan fails, join fails, or no IP appears, paste the UI message to Moss:
This device failed to connect to Wi-Fi; the UI says DHCP timed out while obtaining an IP—help me figure out what to check next.
Moss will suggest next steps from device state, logs, and common network issues. Still enter SSID/password and start the join from the Wi-Fi dialog.
Next steps
When the device is online, go to 2.5 Connect an AI model, or ask Moss on the workbench to check device health.