HoloBrain General Object Grasping
HoloBrain is a lightweight VLA foundation model from Horizon Robotics. It introduces an "embodied perception" architecture that fuses multi-view visual information with robot kinematics priors for stronger 3D spatial understanding and reasoning. A unified hybrid relative action space supports single-arm, dual-arm, and mobile manipulation platforms, breaking barriers across heterogeneous hardware. With only 0.2B parameters, it achieves industry-leading performance and SOTA results on benchmarks such as RoboTwin 2.0 and LIBERO, and supports complex long-horizon tasks including grasping, cloth folding, and deformable-object manipulation. Combined with the high-compute RDK S600 platform, HoloBrain enables real-time edge inference and a low-latency perception–decision–control loop, accelerating embodied AI applications. This document uses a general grasping task as an example and walks through environment setup, model deployment, and task execution of HoloBrain on RDK S600.
| Platform | RDK S600 Ubuntu 24.04 |
|---|---|
| ROS Version | ROS 2 Jazzy |
| Model | HoloBrain_v0.0_GD |
| Task | General object grasping |
| Performance (DECODE = 5) | wall=116.823ms text=9.3007ms enc=40.2941ms dec=54.6188ms |
Hardware Setup
Equipment List
| Device | Quantity | Image |
|---|---|---|
| RDK S600 development kit | 1 | 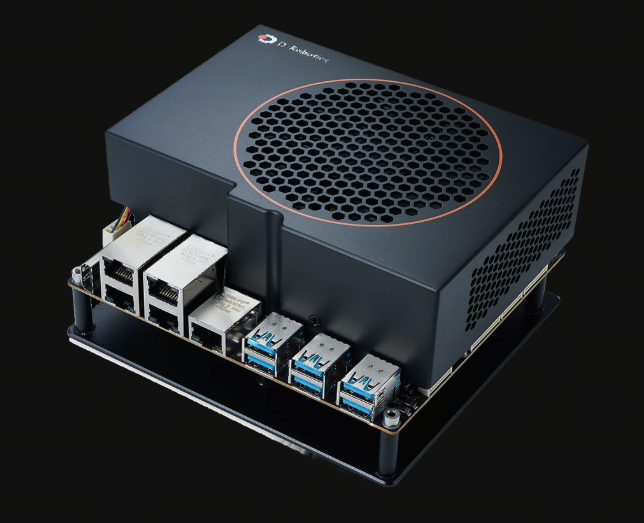 |
| AgileX Piper robotic arm | 2 | 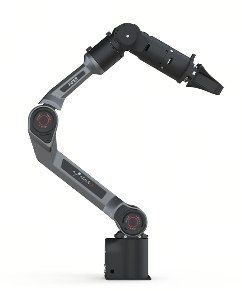 |
| RealSense D435i | 3 | 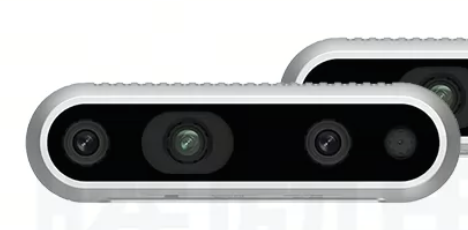 |
| Robotic Arm Stand | 1 | 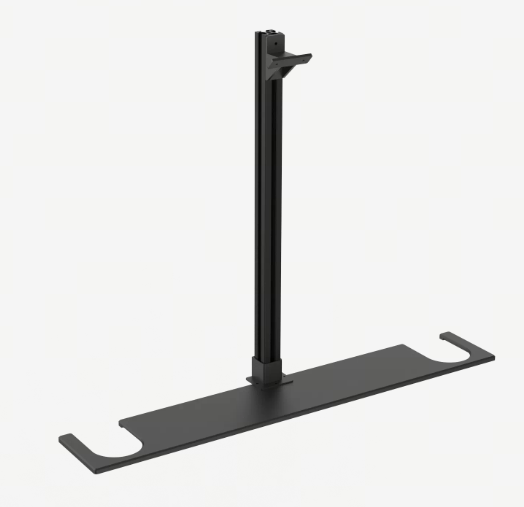 |
| Wrist Camera 3D-Printed Mount | 2 | 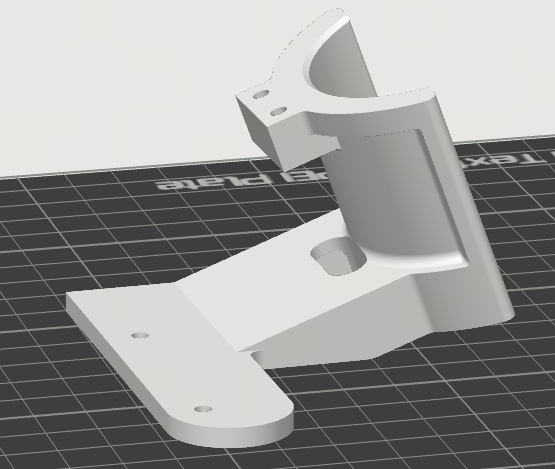 |
| Head Camera 3D-Printed Mount | 1 | 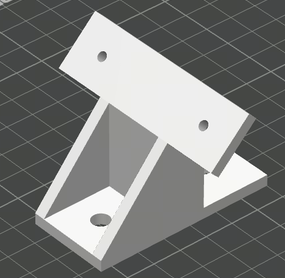 |
| Small Basket Prop | 1 | 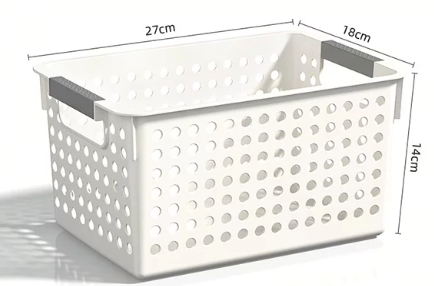 |
Assembly Result
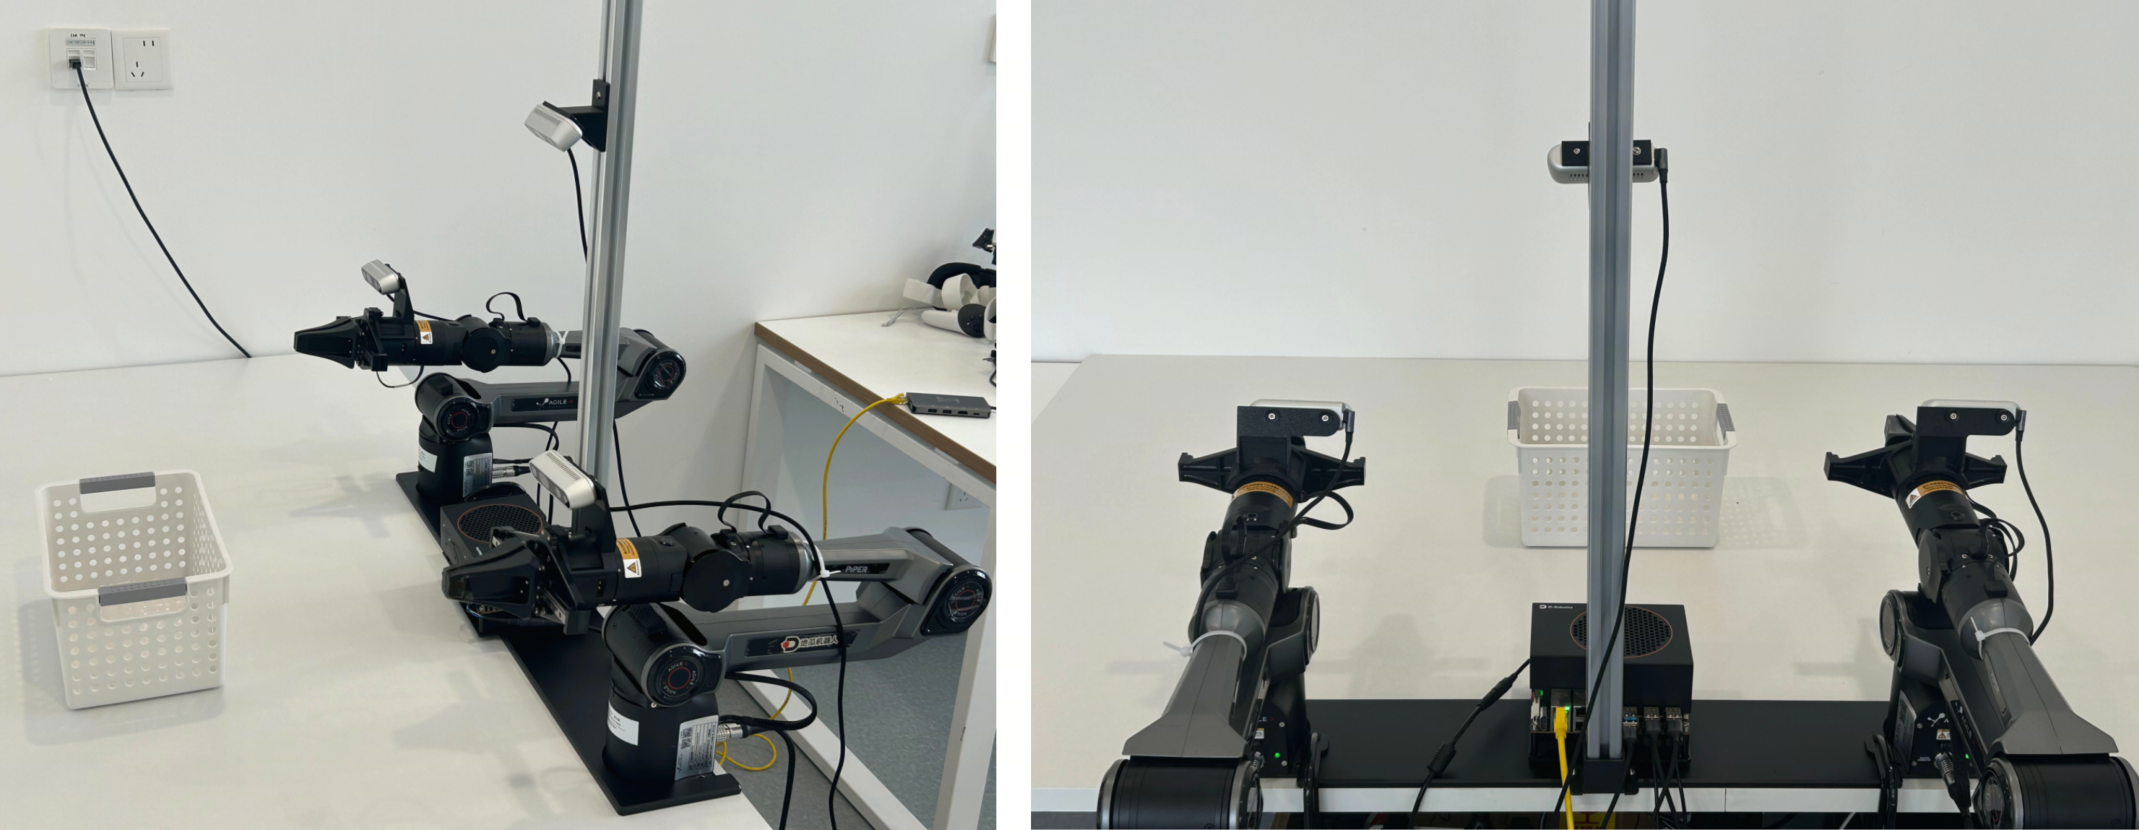
Camera Check
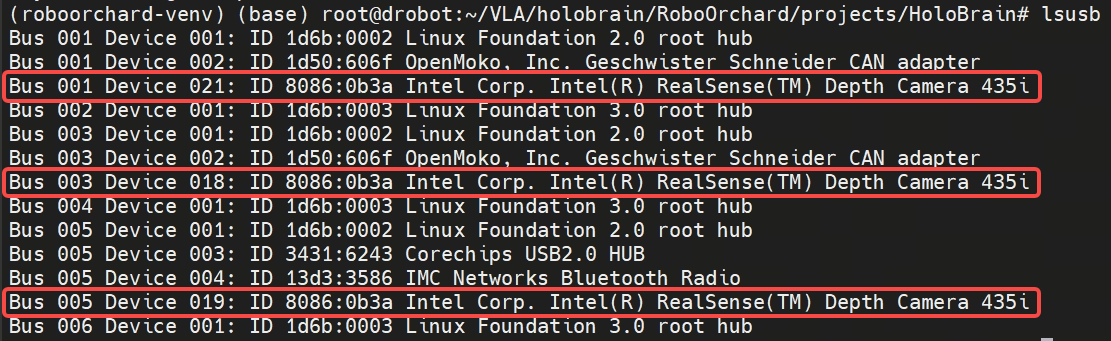
Check USB Device Recognition
# Check whether USB devices are recognized
lsusb
Query Serial Number
# Source the ROS 2 environment before querying the serial number
source /opt/ros/jazzy/setup.bash

# Query Serial Number; this serial will be used in the HoloBrain project config launch.yaml
rs-enumerate-devices | grep Serial

Adjust the Middle Camera Position
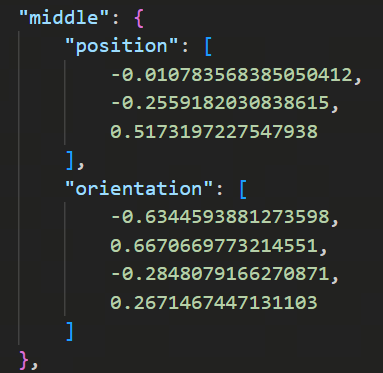
The transform between the middle camera and the left arm is shown below. To ensure good results, adjust the middle camera so that the transform (position) is as close as possible to the figure. To determine the actual transform, see the calibration tutorial in FAQ.
Configure Robotic Arm CAN Devices
List Existing CAN Devices
# List existing CAN devices
ip link show
Rename CAN Devices
# Rename CAN devices; adjust the commands to match the actual left/right arms. The arm names should be can_left and can_right
sudo ip link set canx name can_left
sudo ip link set canx name can_right
Configure CAN Baud Rate
# After renaming the CAN devices, configure the CAN baud rate
sudo ip link set can_left type can bitrate 1000000
sudo ip link set can_right type can bitrate 1000000
| Device | Purpose | Baud Rate |
|---|---|---|
| can_left | Left arm | 1Mbps |
| can_right | Right arm | 1Mbps |
Bring Up CAN Devices
# Bring up the CAN devices for the left and right arms
sudo ifconfig can_left up
sudo ifconfig can_right up
You can verify whether the CAN devices are up with the ifconfig command:
# Check whether the CAN devices are up
ifconfig
The ip link configuration above is typically valid only for the current system session. After reboot, reconfigure it, or set it to start automatically via systemd.
Environment Setup
Install System Dependencies
If apt reports that a package cannot be located, run sudo apt update first and then retry the install.
sudo apt update
sudo apt install tmux \
    python3-colcon-common-extensions \
    ros-jazzy-rosidl-default-generators \
    ros-jazzy-ament-cmake-auto \
    ros-jazzy-ament-lint-auto \
    ros-jazzy-ros2launch \
    ros-jazzy-foxglove-bridge \
    ros-jazzy-rosbridge-server \
    ros-jazzy-realsense2-camera
| Package | Purpose |
|---|---|
| tmux | Terminal multiplexer for managing multiple background sessions |
| python3-colcon-common-extensions | Common colcon extensions for ROS 2 builds |
| ros-jazzy-rosidl-default-generators | Default generators for ROS interface definitions |
| ros-jazzy-ament-cmake-auto | CMake auto-configuration for the ament build system |
| ros-jazzy-ament-lint-auto | Auto-configuration for ament lint checks |
| ros-jazzy-ros2launch | ROS 2 launch file tool |
| ros-jazzy-foxglove-bridge | Foxglove visualization bridge |
| ros-jazzy-rosbridge-server | ROS 2 WebSocket bridge service |
| ros-jazzy-realsense2-camera | Intel RealSense depth camera driver |
Clone the RoboOrchard Repository
git clone https://github.com/wunuo1/RoboOrchard

# Enter the RoboOrchard root directory
cd RoboOrchard
Create a Python Virtual Environment
Run the following commands in the RoboOrchard root directory.
# Make sure the Python version is 3.12 before creating the environment
python3 -m venv venv/roboorchard-venv

# Activate the virtual environment and load ROS 2 Jazzy
source venv/roboorchard-venv/bin/activate
source /opt/ros/jazzy/setup.bash
If everything is set up correctly, the prompt should look like:
(roboorchard-venv) root@drobot:~/VLA/holobrain/RoboOrchard#
To load them automatically, you can also add the source commands to ~/.bashrc.
Install RoboOrchard Development Dependencies
Run the following commands in the RoboOrchard root directory.
# Install RoboOrchard Python development dependencies, plus ROS 2 development, build, and related system dependencies
make dev-env
make ros2-dev-env

# Install the CPU version of PyTorch
pip install torch --index-url https://download.pytorch.org/whl/cpu

# Install the RoboOrchard application
cd python/robo_orchard_inference_app
pip install .
Build ROS 2 Packages
Run the following commands in the RoboOrchard root directory.
# Make sure the related environments are sourced
source venv/roboorchard-venv/bin/activate
source /opt/ros/jazzy/setup.bash

# Suppress Python warnings
export PYTHONWARNINGS="ignore"

# Build ROS 2 packages
make ros2-build

# Source the ROS 2 workspace after the build completes
source ros2_package/install/setup.bash
If make ros2-build reports missing dependencies, run the following command first:
make ros2-dev-env
Then run again:
make ros2-build
HoloBrain Project Configuration
# Enter the HoloBrain project directory
cd projects/HoloBrain

# Install HoloBrain launch dependencies
pip install -r launch/requirements.txt
Edit the launch.yaml configuration as needed. Focus on the three camera serial numbers XXX_CAMERA_SERIAL_NO. For how to query the serial numbers, see Hardware Setup - Camera Check.
vim projects/HoloBrain/launch/launch.yaml
Directory Structure
After deployment, the main directory structure is as follows:
RoboOrchard
|-- LICENSE
|-- Makefile
|-- README.md
|-- projects
|   |-- HoloBrain
|-- pyproject.toml
|-- python
|   |-- robo_orchard_inference_app
|-- ros2_package
|   |-- Makefile
|   |-- README.md
|   |-- build
|   |-- install
|   |-- log
|   |-- requirements.txt
|   |-- robo_orchard_data_msg_ros2
|   |-- robo_orchard_data_ros2
|   |-- robo_orchard_deploy_ros2
|   |-- robo_orchard_handeye_calib_ros2
|   |-- robo_orchard_image_tools
|   |-- robo_orchard_pico_msg_ros2
|   |-- robo_orchard_piper_msg_ros2
|   |-- robo_orchard_piper_ros2
|   |-- robo_orchard_teleop_msg_ros2
|   |-- robo_orchard_teleop_ros2
|   |-- robo_orchard_wuji_glove_msg_ros2
|   |-- robo_orchard_wuji_glove_ros2
|-- scm
|   |-- lint
|   |-- qac
|   |-- requirements.txt
|-- venv
    |-- roboorchard-venv
Start/Stop HoloBrain
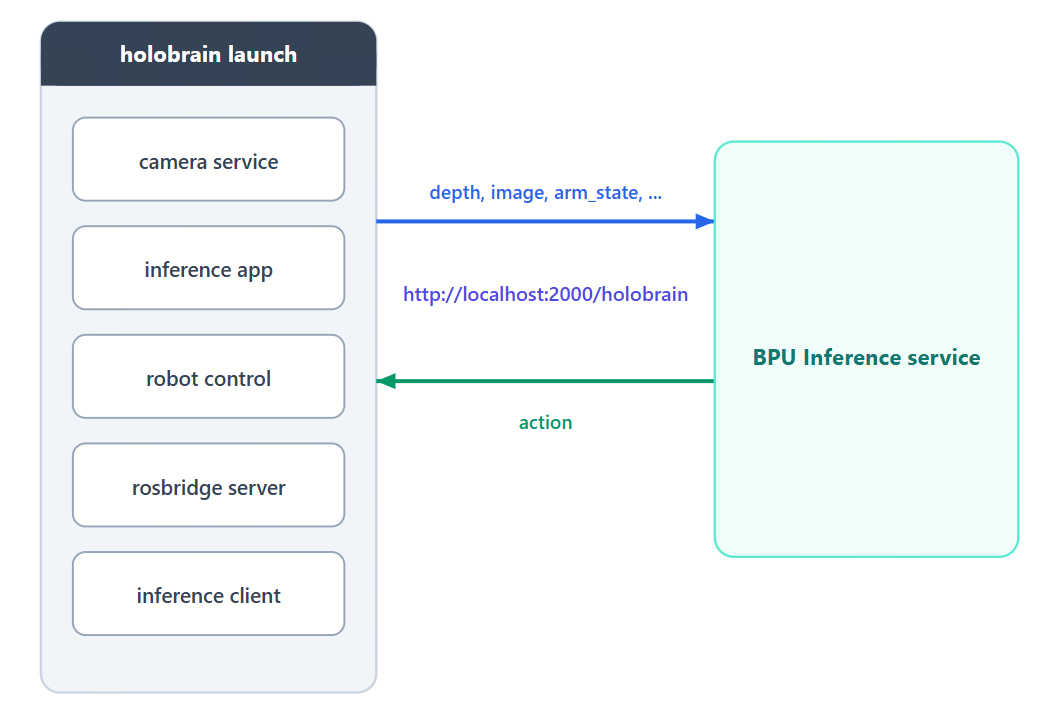
Start the BPU Inference Service
cd ~
wget https://sdk.d-robotics.cc/downloads/rdk_demo/rdk_s600_demo/holobrain_runtime_S600.tar.gz
tar -xvf holobrain_runtime_S600.tar.gz

# Enter the script directory
cd ./holobrain_runtime_S600/cpp_hbm_ucp/runtime/script

# Run
DECODER_STEPS=5 sh run_hbm_http_server.sh
Start holobrain_app
This script covers multiple functions such as ros_bridge, camera_service, robot_control, and inference; see launch.yaml for details.
-
Open a new terminal and run the following commands to start holobrain_app:
# Enter RoboOrchard
cd RoboOrchard

# Make sure all environments are sourced before launch
source venv/roboorchard-venv/bin/activate
source /opt/ros/jazzy/setup.bash
source ros2_package/install/setup.bash

# Enter projects/HoloBrain
cd projects/HoloBrain

# Start
./launch/start.sh -
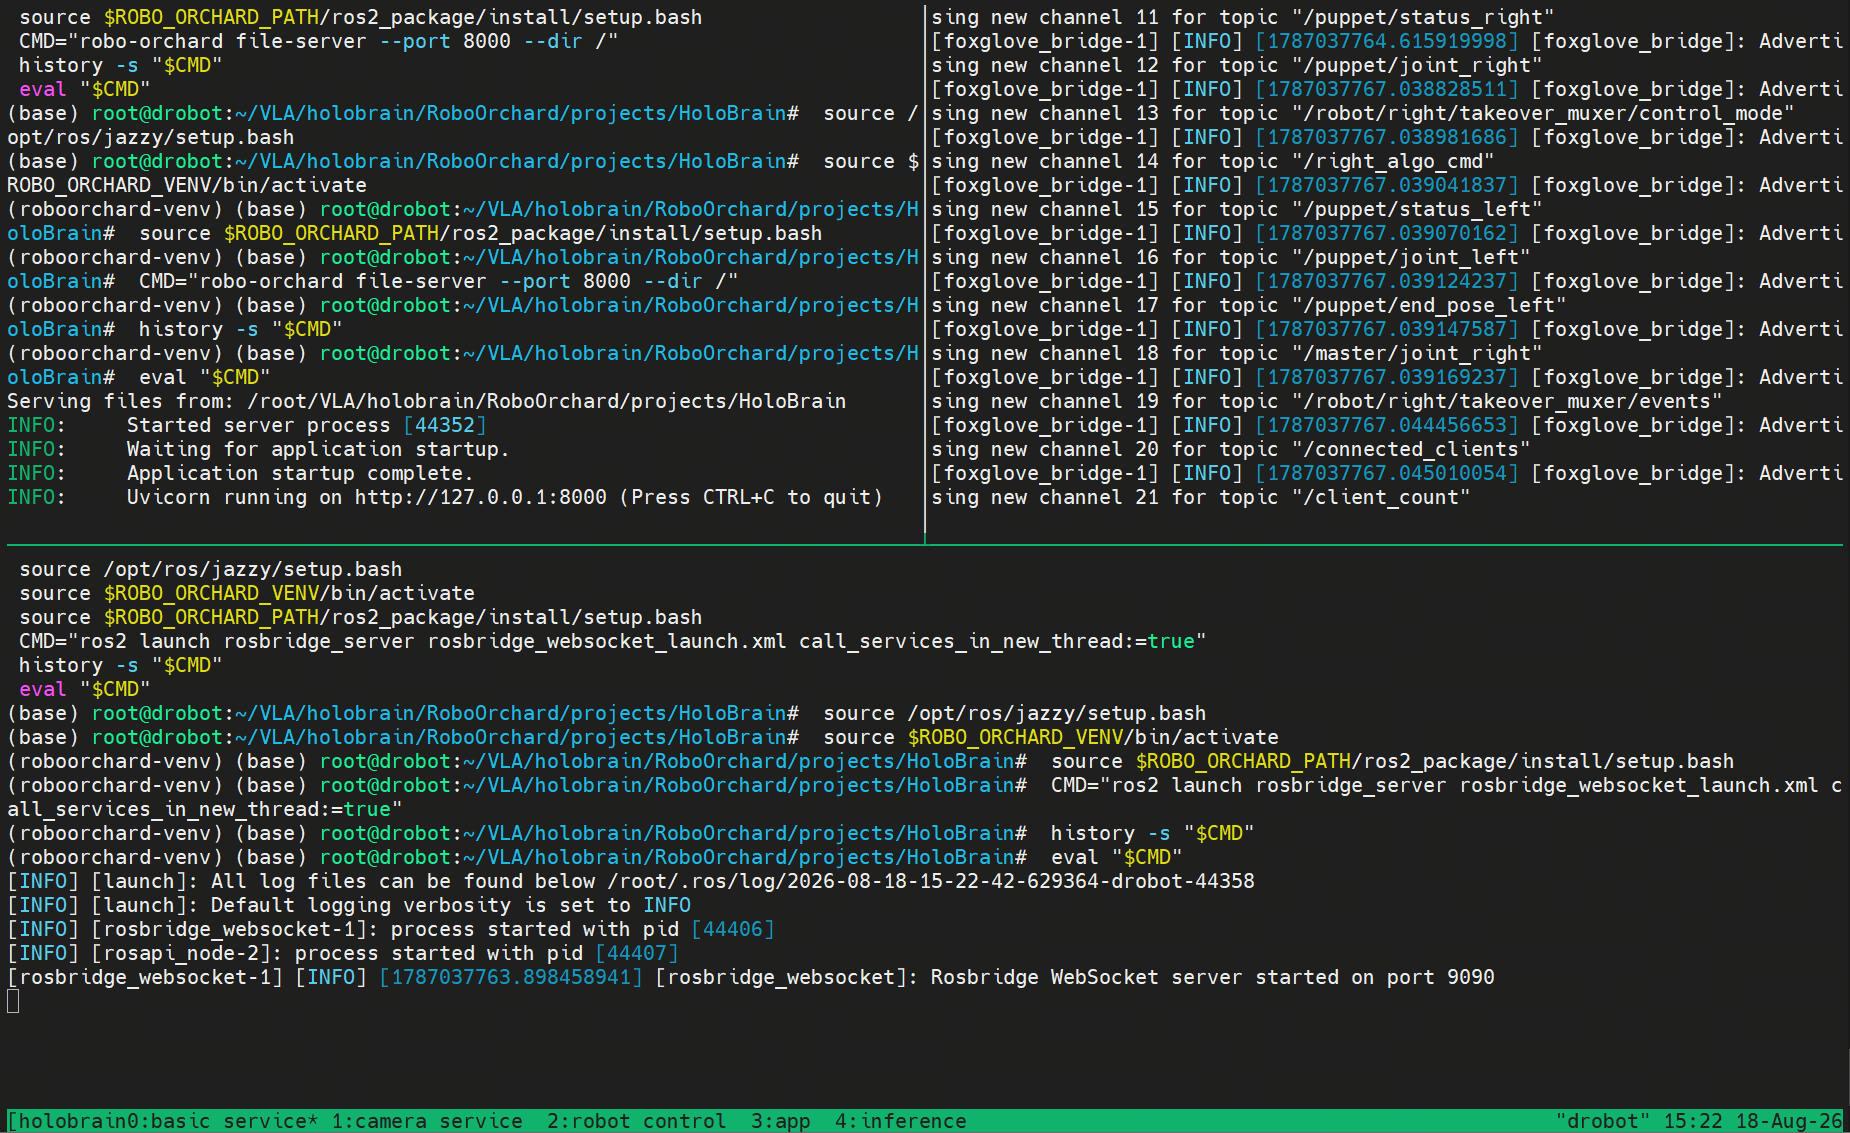
After launch, you should see the following UI. Click the window numbers at the bottom to inspect each function, and make sure every function is running normally.
-
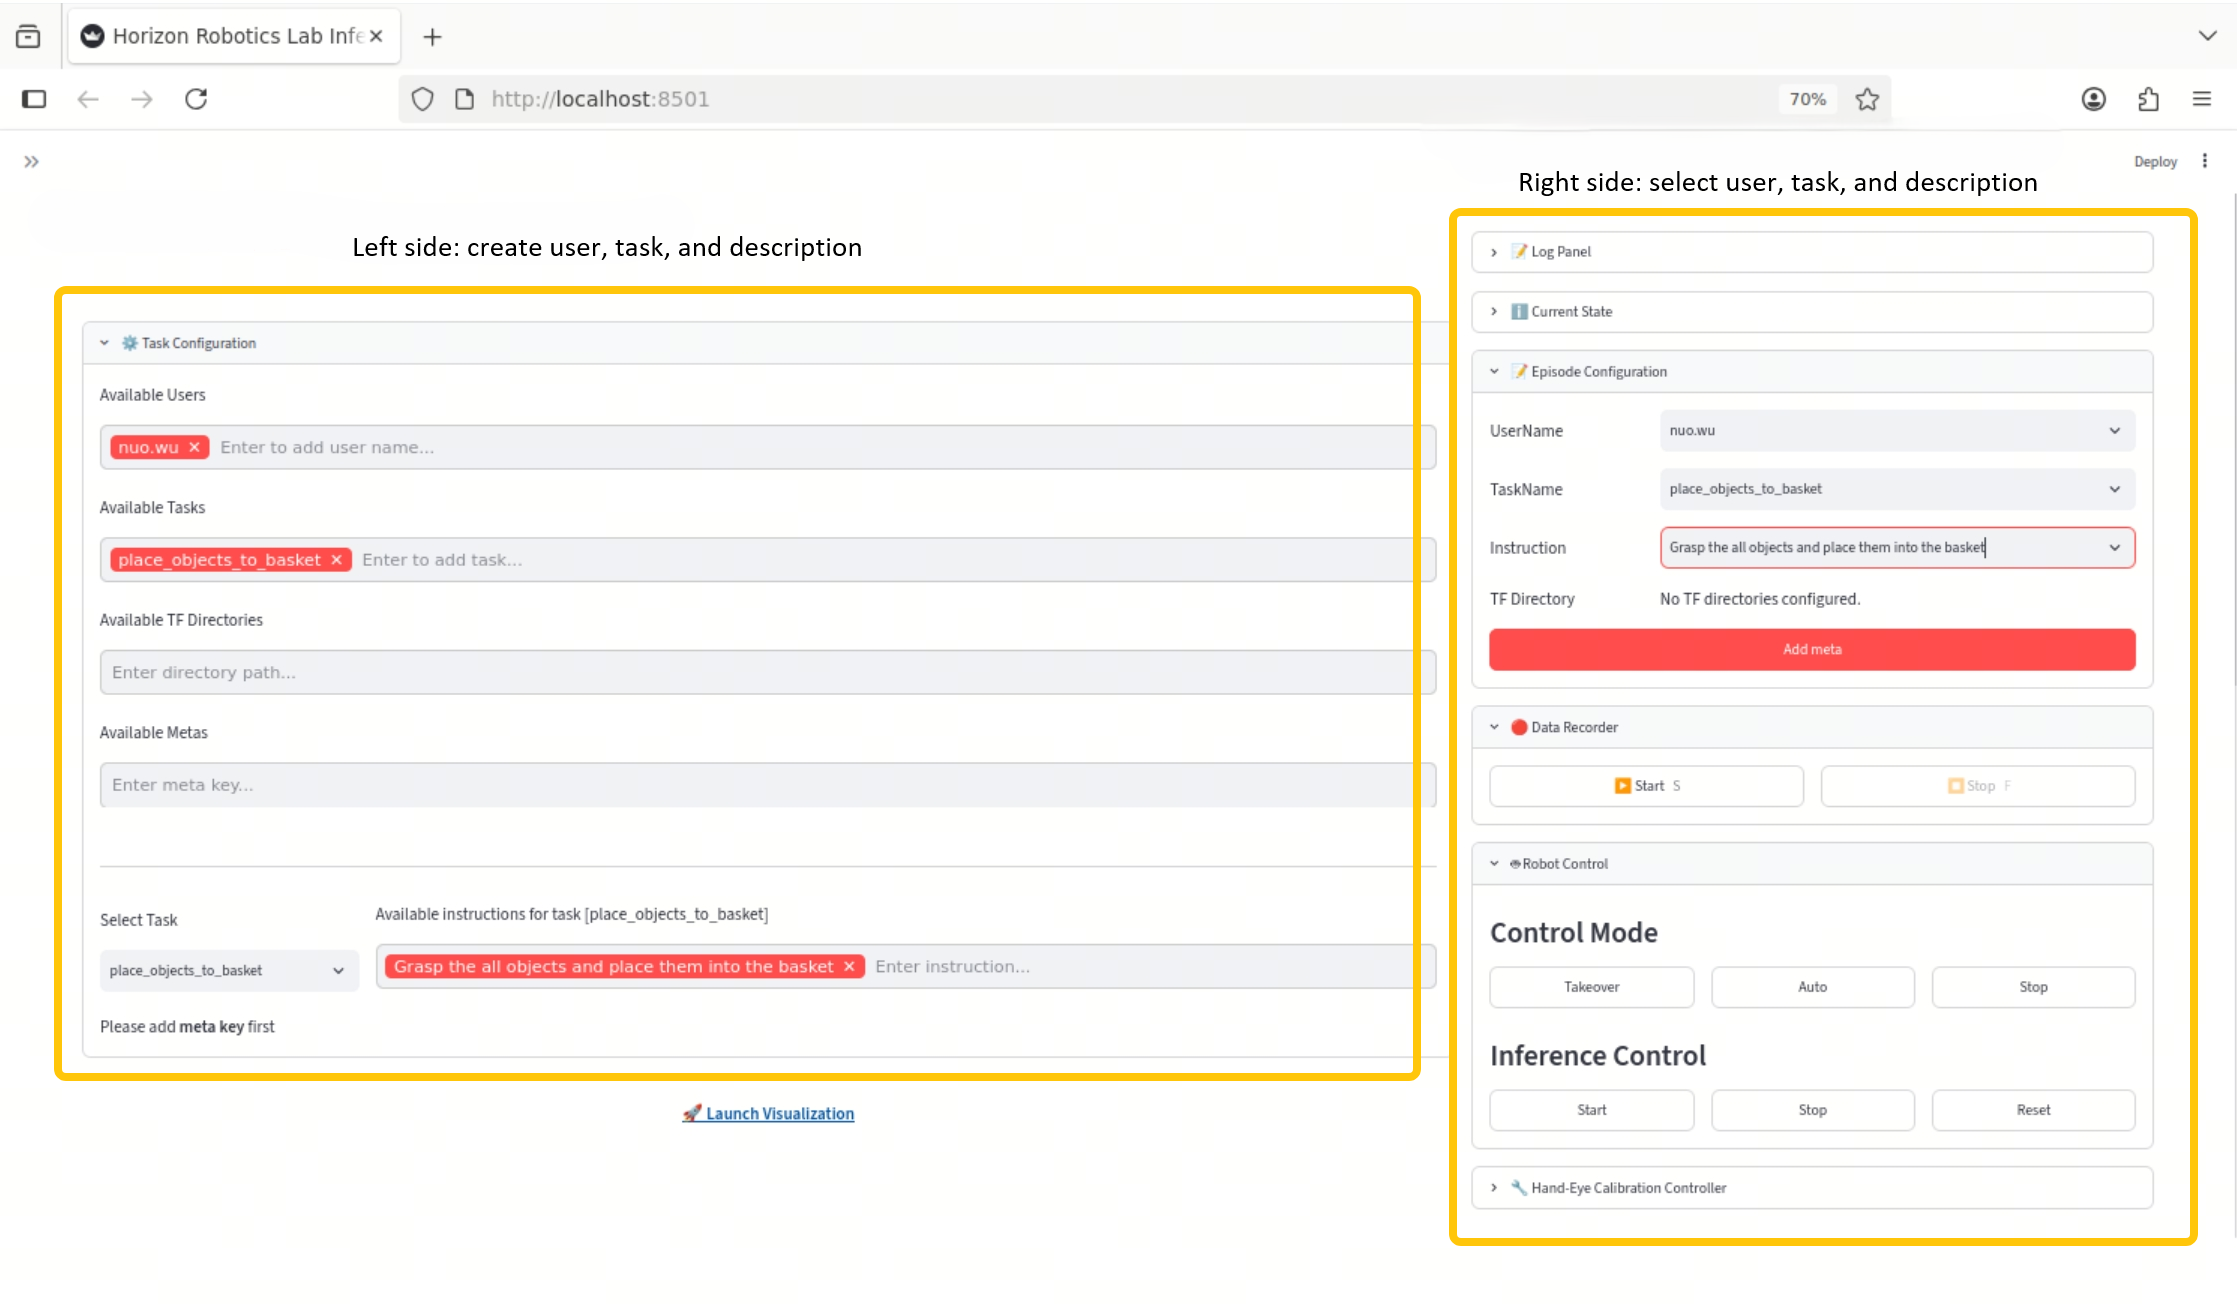
Open
http://localhost:8501/in a browser on the board. -
Create a user, a task, and a description, then select the corresponding options on the right.
-
After making your selections, click Start to start the task, Stop to stop the task, and Reset to return the robotic arm to the zero position.
Stop holobrain_app
In the tmux terminal, press Ctrl+B, then press D to detach from the tmux session.
# Kill all processes
./launch/stop.sh