MIPI Camera Usage
Video: https://www.bilibili.com/video/BV1rm4y1E73q/?p=19
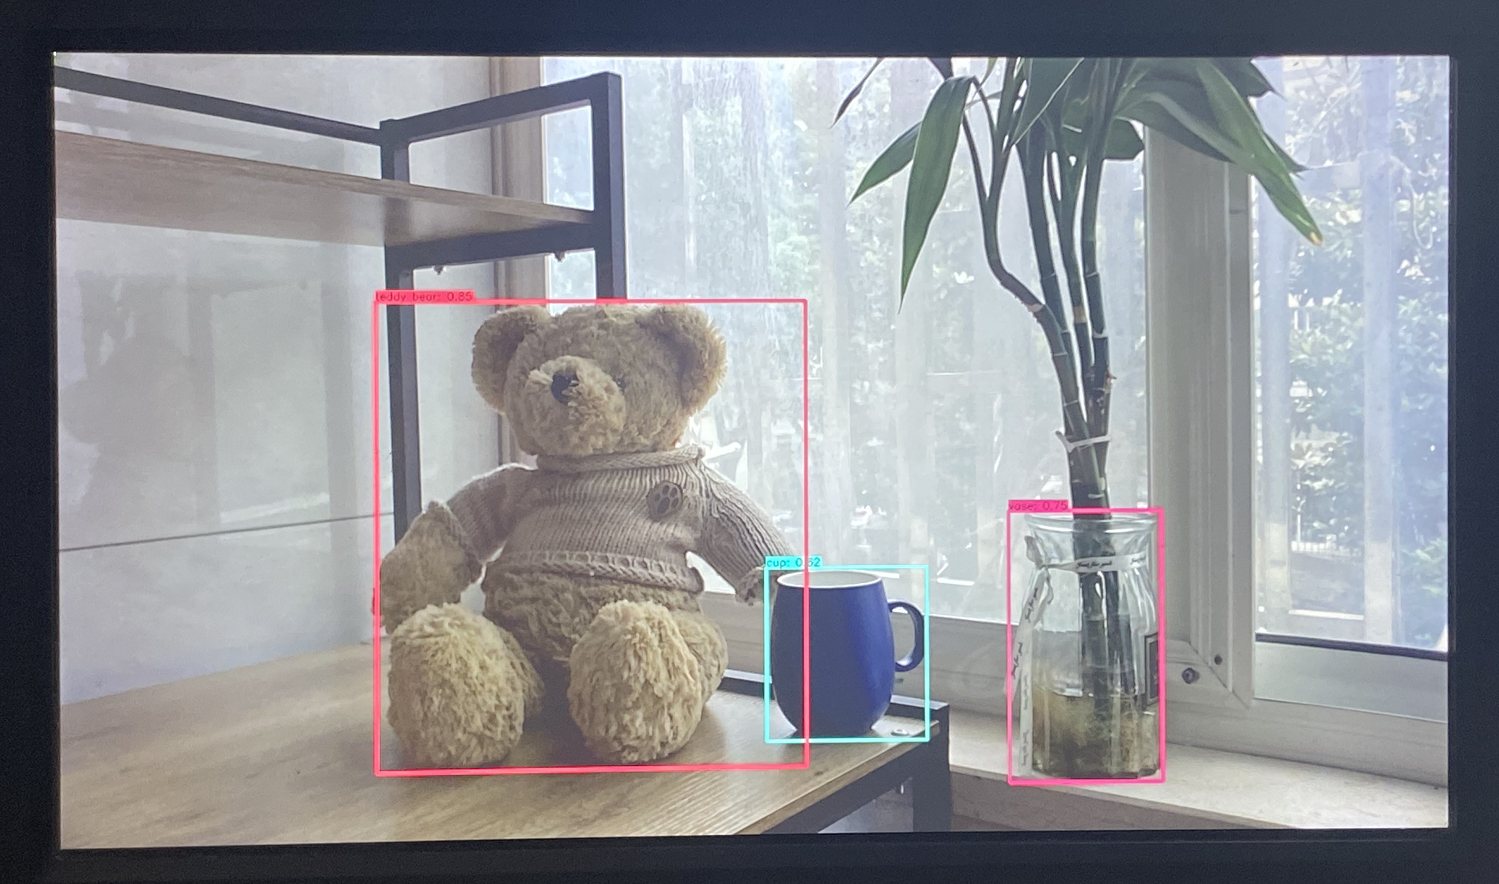
The mipi_camera.py program is installed on the development board to test the data path of the MIPI camera. This example captures real-time image data from the MIPI camera, runs an object detection algorithm, and finally outputs the fused image data and detection results through the HDMI interface.
Environment Preparation
- Connect the MIPI camera module to the MIPI CSI interface of the development board. For specific connection methods, refer to - Hardware Introduction - MIPI Interface
- Connect the development board and the monitor using an HDMI cable
Execution Method
- Desktop
- Server
Run the following command to disable the desktop service
sudo systemctl stop lightdm
Log in to the development board via SSH and execute the program using the following commands
sunrise@ubuntu:~$ cd /app/pydev_demo/03_mipi_camera_sample/
sunrise@ubuntu:/app/pydev_demo/03_mipi_camera_sample$ sudo python3 ./mipi_camera.py
The Server version outputs results via the terminal. To view the camera feed and the object detection algorithm results (object type, confidence), connect the development board and the monitor using an HDMI cable.
Execute the program using the following commands
sunrise@ubuntu:~$ cd /app/pydev_demo/03_mipi_camera_sample/
sunrise@ubuntu:/app/pydev_demo/03_mipi_camera_sample$ sudo python3 ./mipi_camera.py
Expected Outcome
After the program is executed, the monitor will display the real-time camera feed and the object detection algorithm results (object type, confidence), as shown below: